Friday, November 14, 2014

Paint Rock Valley Music Festival


We've been wanting to get this blog out for awhile! This September our family enjoyed getting to be at the Paint Rock Valley Lodge music festival. It was three days of a whole lot of fun!


The Lodge and grounds are covered up with signs of every kind, as you can see.


Some are funny.


 Some are true.


And some just make you go "wha-?" :-) 


There is an "old western town" constructed out back of the lodge where all kinds of fun was going on. Dustin was the town blacksmith for the event. 


Shown above is a "step-by-step" photo showing each step of the process for making a forged leaf key ring, one of Dustin's popular pieces.


Dustin, Lilly, and Ember enjoying one of the cowboy "shoot outs". There where several of these staged throughout the weekend.


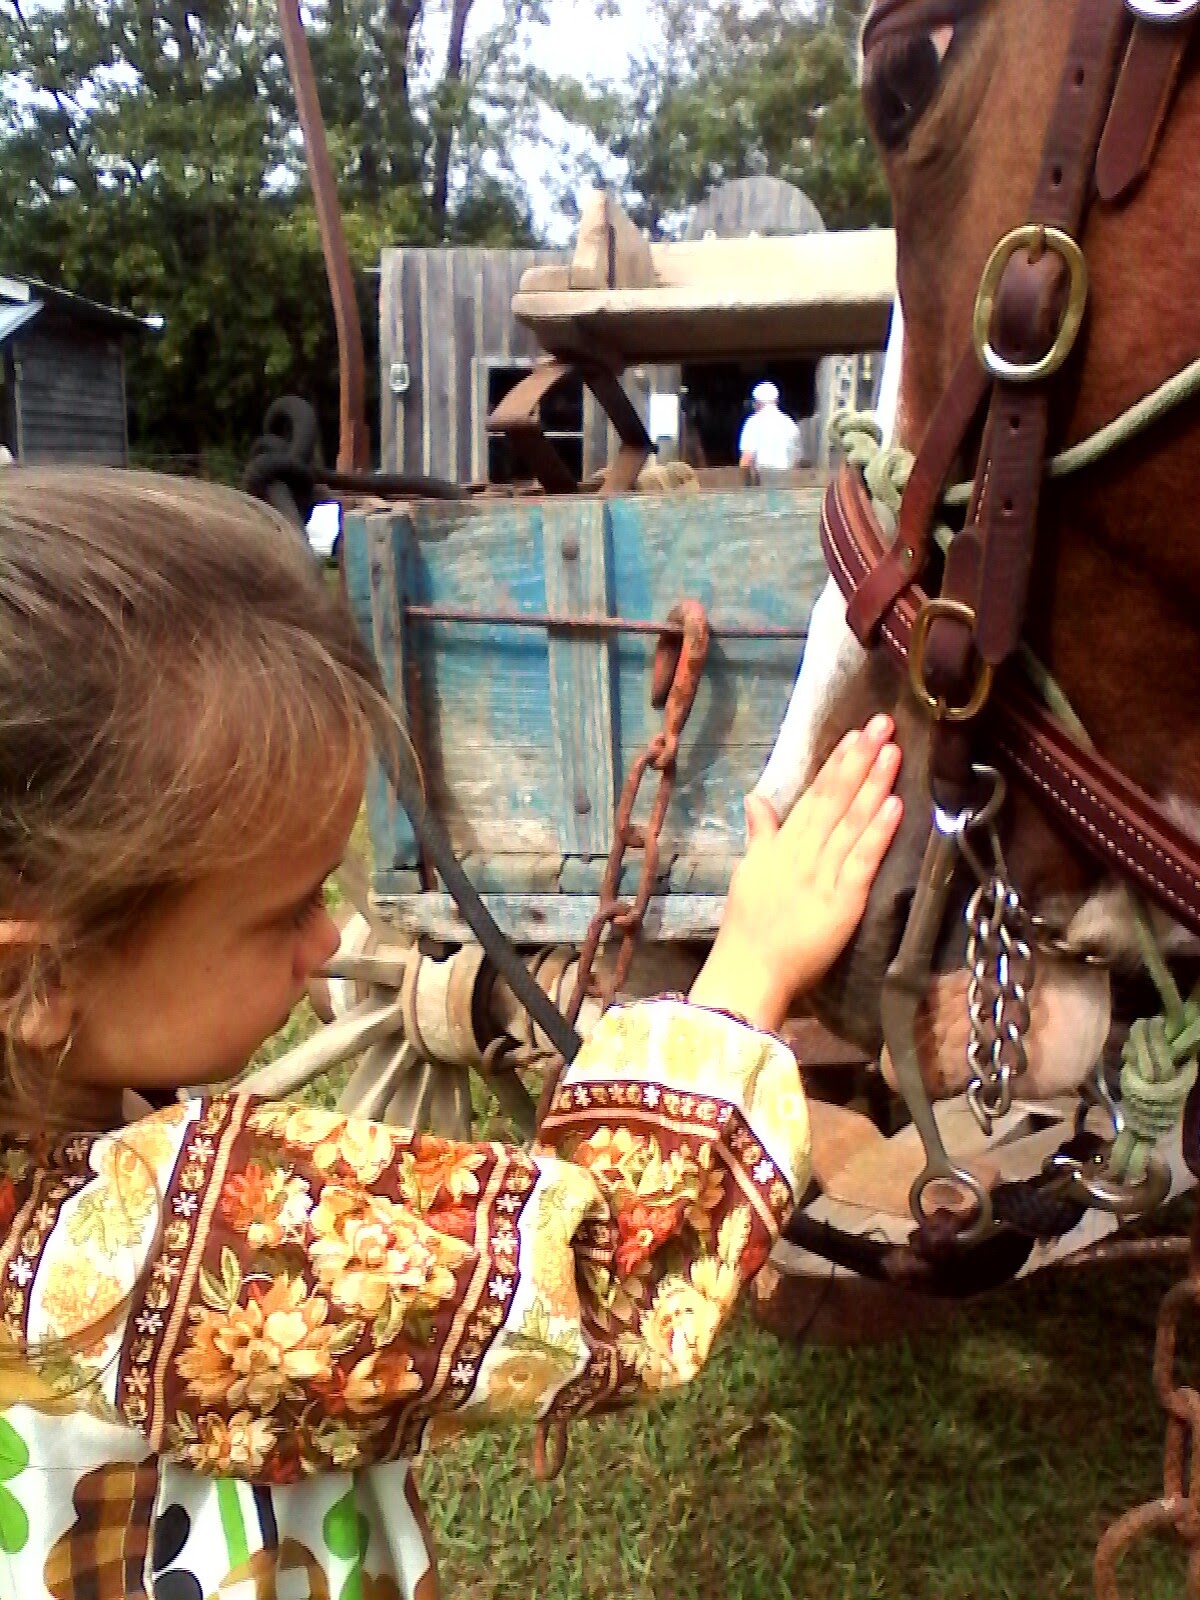
Esther enjoyed meeting Cheyenne, the equine member of the River chase posse( the groop that did the shoot outs) She even got a ride:-) 


There were good eats.


Fun and creative crafts.


Great music( three stages all weekend!).


And tons of family fun.


We've been coming to this festival since Esther was a baby and we sure love it! Hopefully the old blacksmith shop will see us in Paint Rock Alabama again!


Saturday, October 25, 2014

Making bullets.


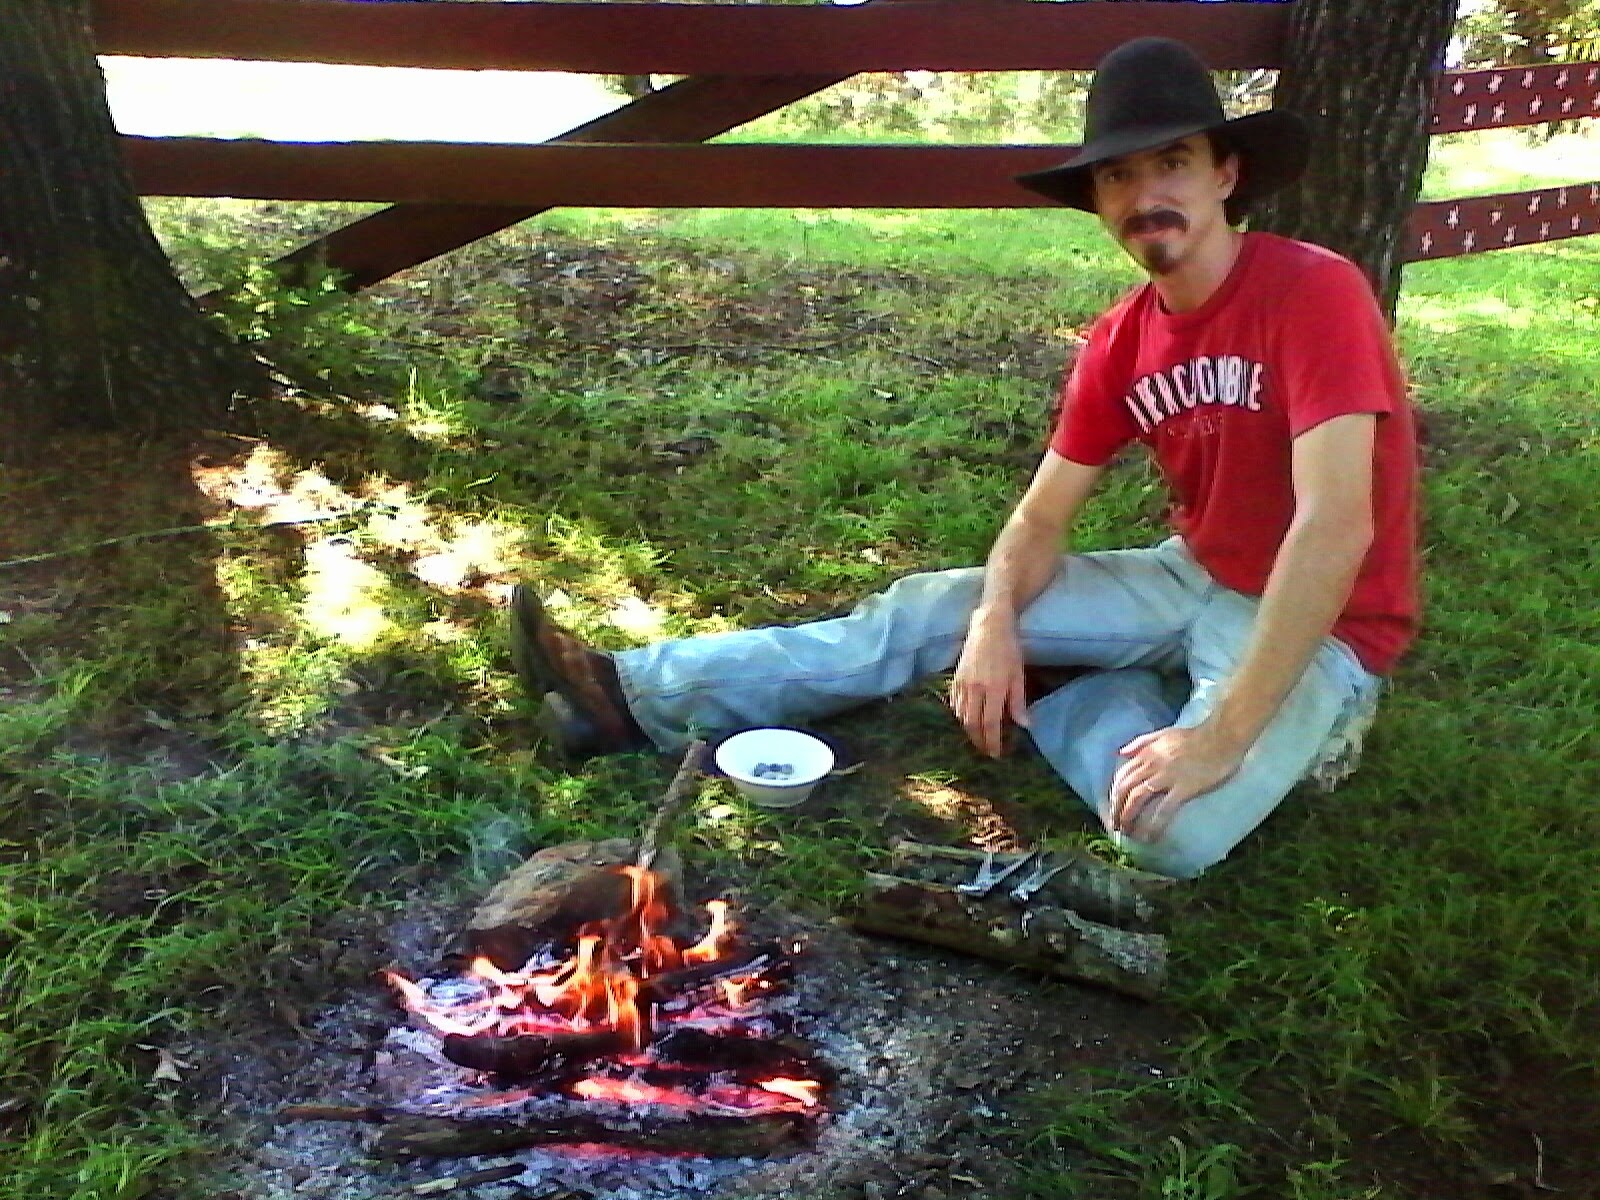
As our followers know, we love colonial reenacting and living history. Dustin was very excited recently when we bought bullet molds to make our own ammunition for our muzzleloaders. Here, he dug old bullets out of a stump he had used for target practice to make into new bullets. This is something the pioneers would have done, as lead was too precious to waste.


A close-up of the molds.


Dustin built a small fire and fashioned a stick handle to extend the arm of the melting ladle. The lead begins to melt and becomes liquid quickly.


 Dustin has the molds at ready and quickly pours the molten lead. The metal cools even faster than it melts and if you pause while pouring you will have air spaces that deform the bullets.


Esther with a shiny new round ball. Just let them cool first! Never pop one right out of the mold into your open palm! 


A small stub of extra lead must be snipped off of the balls before they are ready to use. The bullet molds have built-in, handy snippers just for this job.


The results are certainly gratifying: A pile of spent lead is now ready to shoot again. We saved some change and had a lot of fun in the bargain!


Sunday, October 12, 2014

Super-easy crocheted "elf " hat.


This is an extremely easy version of those sweet little pointy-topped hats you see in cute baby photoshoots all the time. This one was actually for a friend of mine who was about to have a baby, but Ember modeled it for me before I gave it away. She liked it so much I'm going to have to make her another one!


I started this hat with 28 chain stitches. You then build up rows of double or half-treble stitches until you have a square (I did eleven rows). Don't be worried if it starts to curl a little at first, it should flatten out nicely as you go. This hat would fit a one to two year old but just make your starting chain as short or as long as you need to depending on the size you want.


The first half is done. Now, make another identical to it. Be sure to keep your stitch tightness consistent.


Lay the two halves right sides together and sew or crochet two sides as shown creating a 90 degree corner( this is your point ). Turn right side out. Finally, stitch two chain ties to go under the chin each about 8 inches long. Attach to each of the loose corners opposite the point on top. Ta-da! You're done! This hat only took a few hours to make and you could do so many fun color variations. Welcome fall!


Wednesday, September 3, 2014

Using a shaving horse.


Today we are blogging about using a shaving horse. Many people have never heard of a shaving horse, much less seen one. It's a very old tool used for holding wood still while you shave or carve it, like a clamp. The shaving horse's pressure on the wood can be released in an instant by taking your foot off the lever below. A clamp, on the other hand, requires you to stop what you are doing to change the position of your work. Above, Dustin is preparing to peel the poles to our canvas camping tent. This would be a very tedious job if he had to use only a work table and clamps.


All these poles need to be debarked or water and insects will get under the bark and rot the wood.


The tool Dustin is holding is called a draw knife. It is an ideal tool for using with a shaving horse. A traditional use was for "shaving" wooden shingles ( also called "shakes") down to a proper thickness. They are actually a very versatile pair of tools that can be used for a myriad of applications.


 The draw knife is pulled toward the body with a controlled motion. As Dustin moves down the pole he will slide it past him at an angle so he can continue peeling it. When one half is done, he will turn it around and start on the second half.


Working with hand tools gives a person the opportunity to feel, concentrate on, and appreciate his work in a way that is hardly possible with modern power tools and equipment. It becomes easier to understand the level of workmanship that was seen in the past once you have begun to use and trust your own hands.


Tuesday, August 26, 2014

Baby shower

* Hello everyone! Here is a blog I've wanted to post for some time now. No photos from the farm this time, but all the hand-made and make-do fun in this post is well in keeping with what Home-Made-Home is all about. Plus, I managed to slip in some product pictures ; ) Thanks for following! - Janet.*

Several months back I threw a baby shower for my friend Atlanta and her baby, Marian. Her sister in law and I had both agreed on a vintage theme and here are some of the fun and pretty ideas we came up with:
The banner was easy to make. I cut out circles of plain, white paper and wrote the individual letters on them with a calligraphy pen. Then I pinned the letters, along with bunches of baby's breath, my baby booties,and some antique baby dresses I scored for a dollar a piece at a junk store to a length of thin rope with mini peg clothes pins. Ta-da! Gorgeous banner.


We had fun using stuff we already had to further the old fashioned/ baby girl theme. Here, we just tucked some tiny flowers into the tea set we borrowed from my girls for the day. We also rounded up lots of old linen and lace, like the handkerchief in this picture.


Sweet baby! She was so good for the whole shower, but when it came time for a picture, she decided she'd had about enough!


We brought an old rocker and handmade quilts to make a comfortable spot for the guests of honor to sit while opening gifts.


The decorations for the refreshment table turned out to be my personal favorites. Glass bottles and brass candle-sticks from my collections paired with a miniscule perambulator that was fixed with scraps of fabric and lace, a lace handkerchief, and tiny blooms. Candle light makes everything special.


 One of Atlanta's friends had made this adorable garland for her and we just had to reuse it along the edge of the gift table.:-) 


Instead of having a game, we had a special activity for all the guests to join in. Above is the "blessing tree". Everyone was instructed to write a special blessing, prayer, or scripture for little Marian on one of the tags we passed out and then hang it on the tree. By the time we finished, the tree was blooming with blessings! The tags will go into a scrapbook as a keepsake for Marian when she is older.


There were so many lovely gifts. I decided to give a stuffed toy horse and crocheted wool ball from the Home-Made-Home shop( animals are $8.and the Ball is $12.). I find a lot of joy in giving things I have made with my own hands. So many kind thoughts and prayers just naturally go out for the person you are thinking of while you make the gift, and that is what makes it truly special.

* Call Home-Made-Home at 1-870-283-4002 with inquiries or to order.*